
How to Start a Shopify Store in 2024: Easy Steps to Success
In these times of rapid technological development, an E-commerce presence is no longer a luxury but a must for every business. Moreover, owners of online stores have a tangible advantage over physically located ones – no matter how popular a physical store is, you can only reach a certain number of people; with online stores, you have no limits.
That’s why, in 2024, the significance of selecting a robust, user-friendly platform for launching your online store has never been more critical. Understanding how to start a Shopify store becomes essential, as Shopify has over 2 billion active users and is now one of the top platforms for launching successful online stores. It is an easy-to-manage E-commerce platform with powerful tools that help you cover all your needs.
Why Shopify?
Thanks to its different features and functionalities, Shopify has earned its place in the E-commerce industry. The platform’s user-friendly interface caters to both novices taking their first steps to start a Shopify store and seasoned entrepreneurs seeking a platform that aligns with their evolving needs.
While using Shopify, you have access to an extensive library of customizable templates that empower you to create visually attractive and unique storefronts. With various apps and integrations, you can elevate your store’s functionality and provide an excellent shopping experience for your customers.
Security is paramount in the digital age, and Shopify takes this responsibility seriously. The platform employs robust security measures, including SSL encryption and adherence to industry standards, ensuring safeguarding your customers’ sensitive information and bolstering the trust they place in your online store.
Moreover, Shopify simplifies the often intricate process of payment integration. By supporting a variety of payment options, from traditional credit cards to cutting-edge digital wallets, Shopify ensures that transactions are not only secure but also convenient for your customers, enhancing their overall shopping experience.
So here is a step-by-step guide of how to start a store on Shopify:
-
- Research and choose your niche
- Sign up for Shopify
- Select a domain name
- Customize your store
- Add products
- Set up payment and shipping
- Implement marketing strategies
- Launch your store
- Monitor and adapt
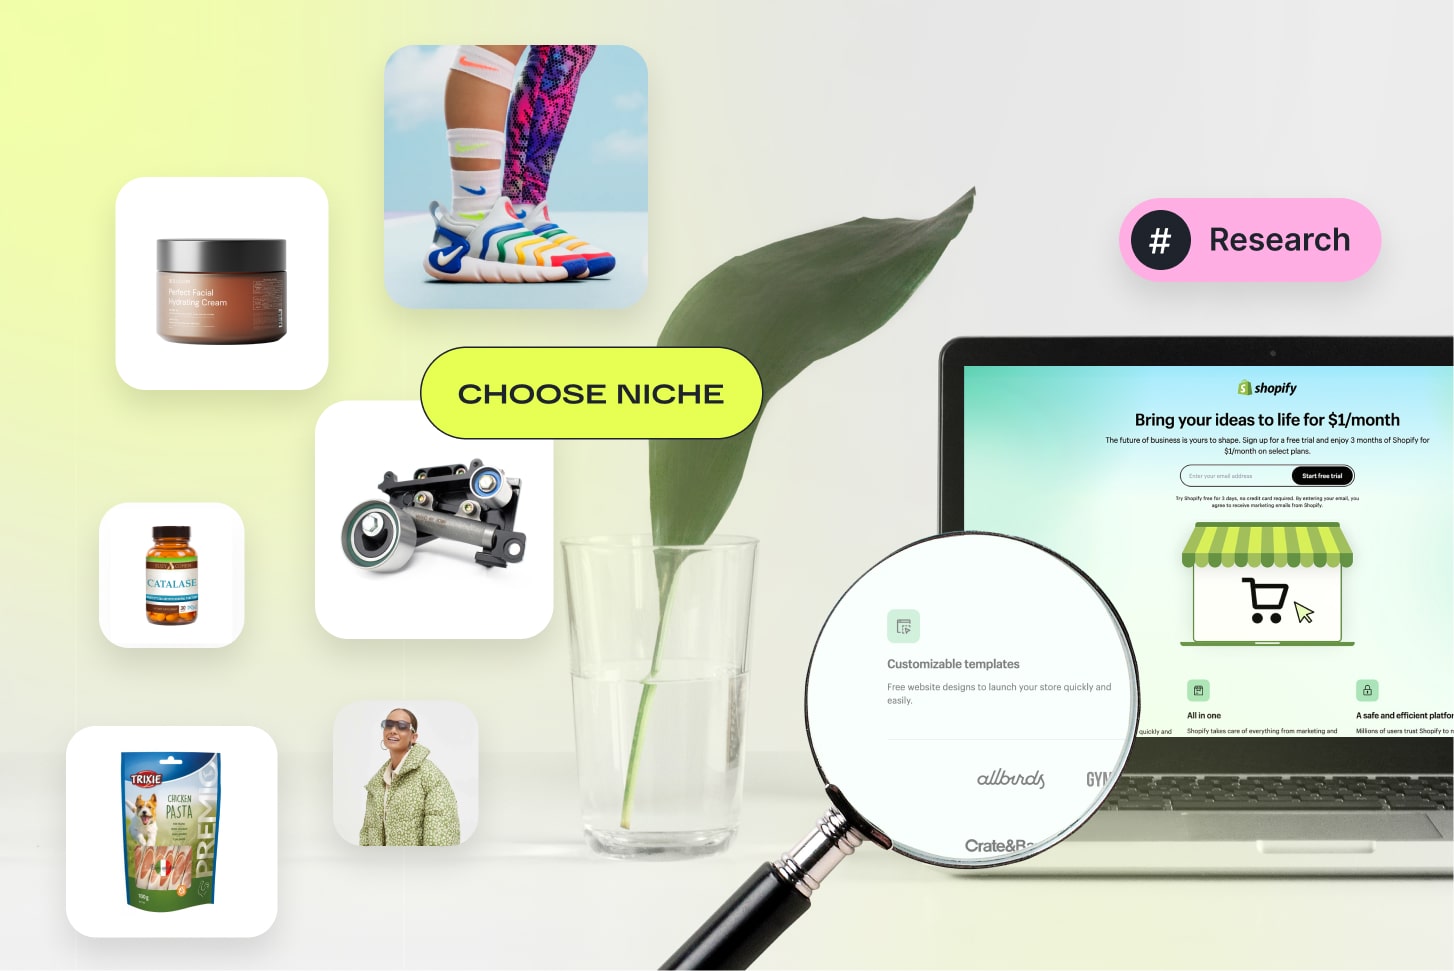
1. Research and Choose Your Niche
How to start a successful Shopify store? The first step is to find your niche aligned with your interests and market potential. It should not only be something you sell but something people need now and will be willing to buy.
What about your competitors? Competitor analysis is another critical thing to do before starting. It will help you understand and form the uniqueness of your product or service, understand how crowded your target market is, and mitigate product launch risks.
The products you choose to sell will define the nature of your Shopify store. If you want to focus on your expertise, you might lean towards establishing a one-product or niche store.
On the other hand, if you choose to go with trending products, it often aligns with a dropshipping model. Products currently in high demand are well-suited for dropshipping, offering a convenient route for new Shopify stores as it alleviates concerns about managing inventory.

2. Create a Shopify account and choose your plan
Visit the Shopify website and initiate your journey by signing up for an account. You’ll have to enter your email to register your account, and Shopify will ask you several questions to understand your business better.
The free trial period will help you understand how to start a Shopify store for beginners and explore the platform. During this period, delve into the dashboard, get comfortable with the user interface, and explore the variety of tools Shopify offers.
Shopify proposes different plans, and you can choose any that suits your needs. For starters, you can select either a Basic or Shopify plan. The more advanced the plan, the greater the number of valuable and accessible features you will have at your disposal.
Shopify plans:
- Basic – $32/month – for individuals & small businesses
- Shopify – $32/month – for small businesses
- Advanced – $32/month – for medium to large businesses
After you select a plan, you’ll arrive at your admin panel. You oversee your products, handle orders, retrieve customer information and store analytics, and coordinate marketing activities and sales channels here.
And now, when you get used to the admin panel, you can start your journey exploring the Shopify store with outstanding features.
3. Customize your store
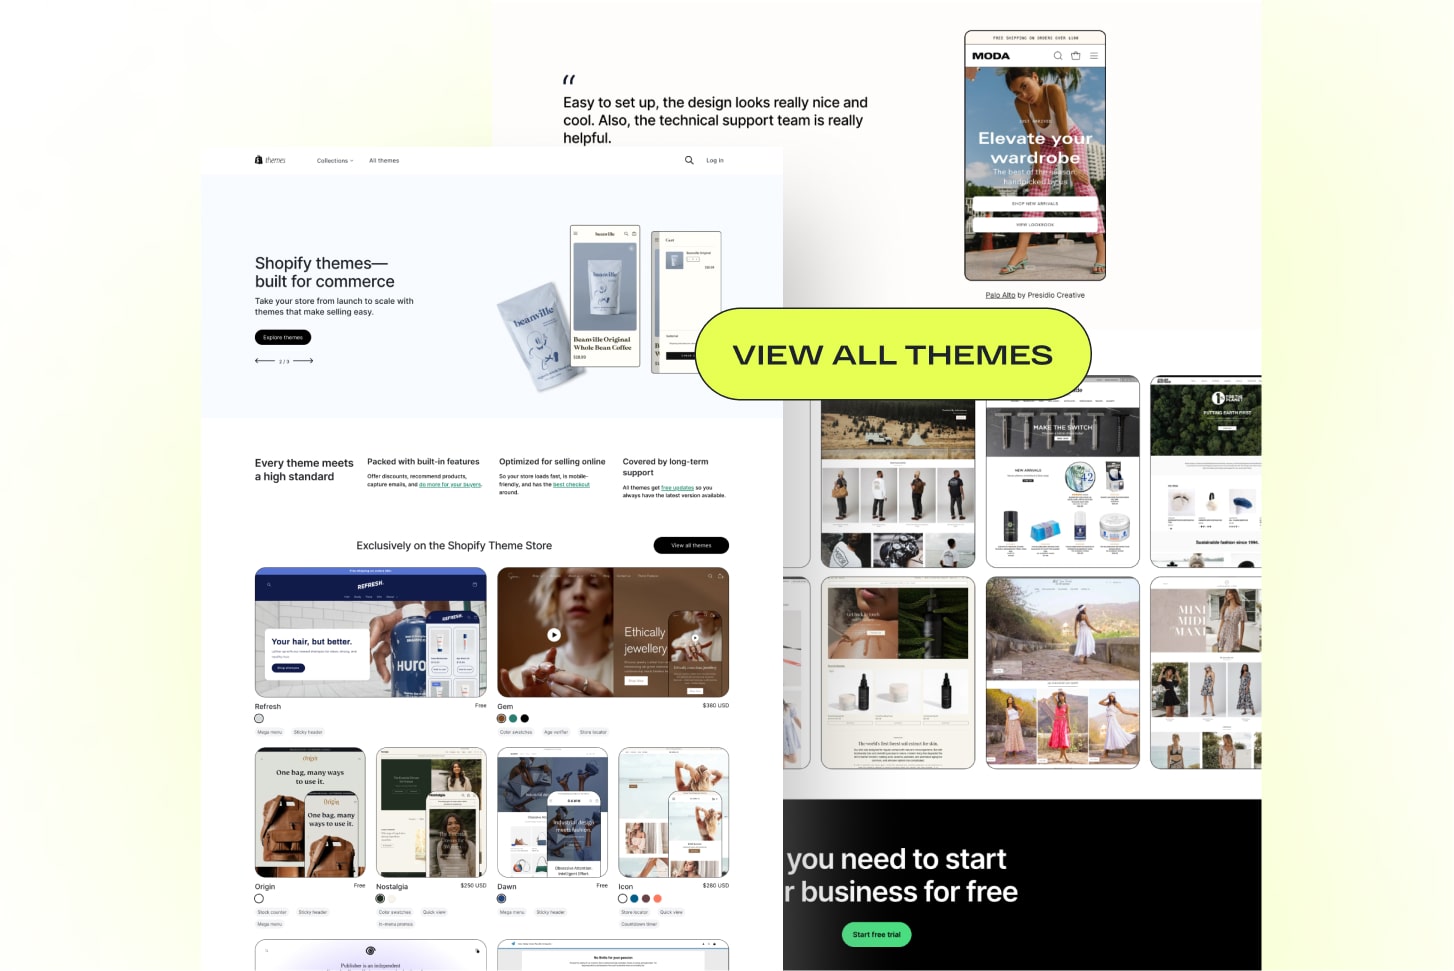
Choose a theme
Dive into Shopify’s extensive library of themes to find one that resonates with your brand’s essence. It forms the foundation of your Shopify store design and will influence the success of your conversion rate and the ease of navigation.
To simplify your choice, focus on the following:
- Outline the features you want for your online store. It will help you to define a starting point for selecting themes that align specifically with your store’s needs;
- Make sure the theme you’re choosing has a good review rate;
- Pay attention if the theme is mobile-friendly. Many users make their purchases through mobile, and that’s why mobile responsiveness is a must-have now.
- Price. Shopify has free and paid themes; you can pick any that suits you better.
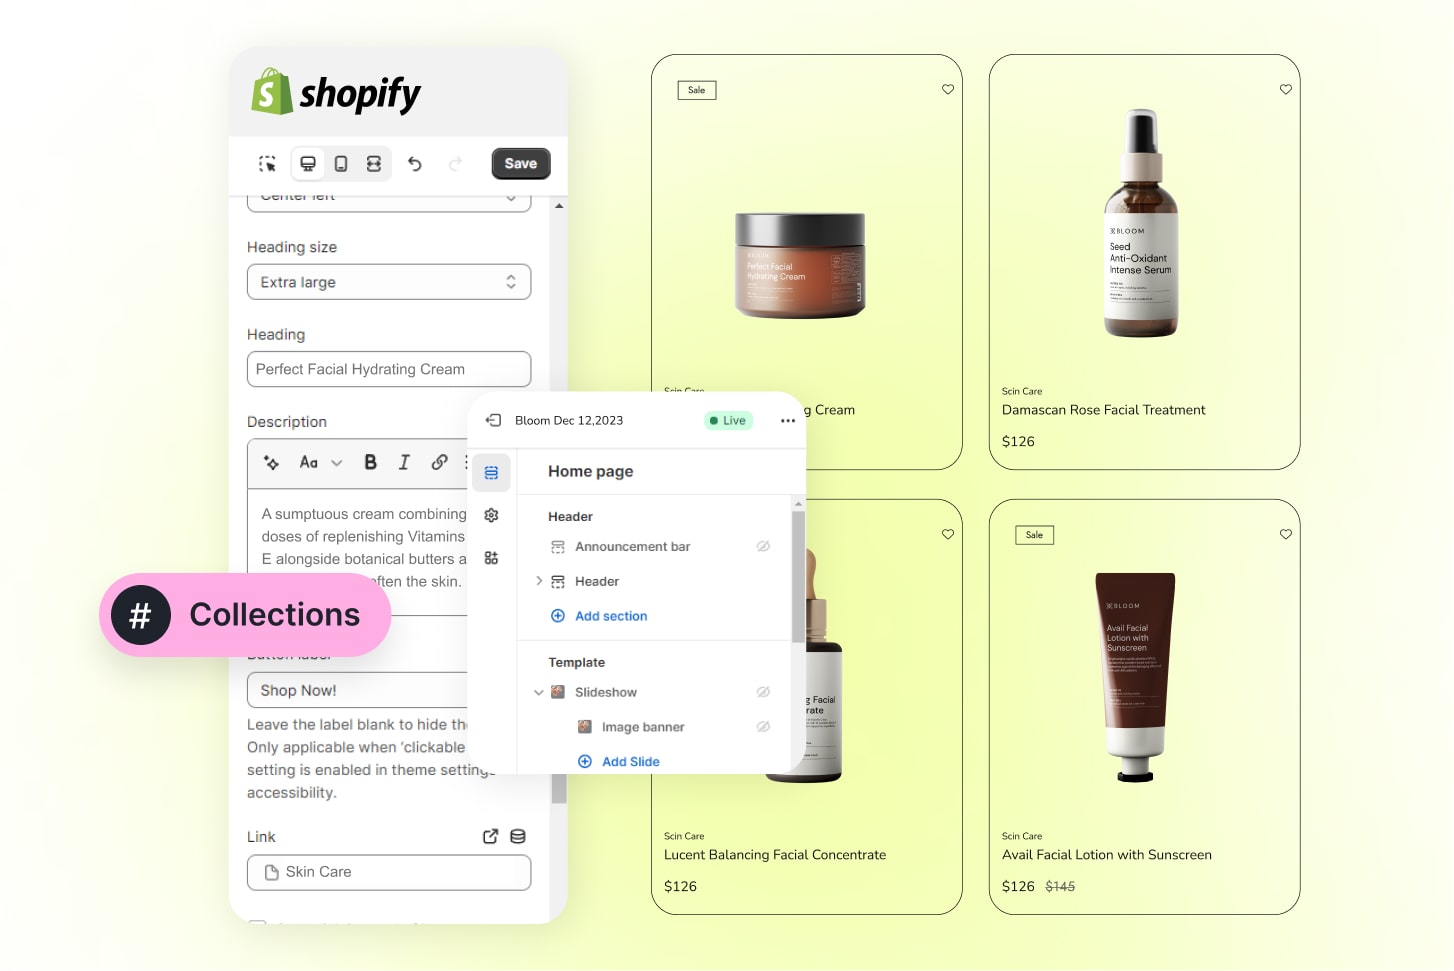
Customize content and design
To modify and manage the appearance of your online store, click on the “Themes” button on the left sidebar and choose “Customize.” The Customize Theme interface is divided into two main sections:
- Design Section: This interface allows you to finalize the structure of your website and determine the items that will be featured on your home page.
- Theme Settings Section: This section is dedicated to customizing colors and typography, providing options for custom theme settings.
Depending on the theme you’ve selected, various suggested layouts may appear. Use the editor bar on the left-hand side to work with elements such as adding new images to each section, modifying content, rearranging or removing existing content blocks, adding new sections to the store, or temporarily hiding sections. Any changes you make will be updated in real-time and displayed on the right side of the interface. Ensure to click “Save” after each edit.
4. Add Products and create Collections
To add products to your store, navigate to Products → All Products → Add Products in your Shopify admin.
Let’s review what you can see on the product-creating page and what all those fields mean:
Product name. Choose a unique name so customers remember your product.
Product description. Describe the best selling points for customers to buy your product.
Product images. Take images from all angles and enable zoom-in to let potential customers explore details.
Price. Official selling price.
Compare at Price. This is an optional field. You can use it to show your product’s price before (for example, if it now has some discount).
Inventory
- SKU (stock keeping unit) – The code that identifies the product within your business. SKUs are important for tracking all your products so you know when to manufacture more.
- Barcode (ISBN, UPC, GTIN, etc.) – Resellers typically use barcodes. The barcode is used by Shopify POS in a retail store for publishing products using the Google channel.
Shipping. Add product weight, customs info, and shipping service depending on your preferences.
Variants. Product variations include Size, Color, and other variations for each product.
Product Status. This section shows if a product is available in your store and enables you to control the status of your product.
Sales channels. They display a list of your active sales channels to make the product available. To edit sales channel availability, click Manage. You can’t set sales channel availability for individual product variants.
Product organization. You can see a ‘Product Organization’ section on the right side of the product page.
The fields you need to fill in are:
- Vendor: The seller of the product (in many cases, that’s you).
- Product type. The main category for the product.
- Collections. They are catalogs of products that you create either manually or using rules.
- Tags. These are keywords that you can associate with your products.
Search engine listing. It shows a preview of how products appear in search engine results. To manage, click “Edit,” and you’ll find three more fields:
- Page title. This title will display as a link in search engine results.
- Page description. Description that you usually see under the title when searching for something in a browser.
- URL. URL address of your page. You can edit it, but there is no need to do it in most cases.
That’s it. Remember to click Save.
Now, let’s move to creating collections.
Collections consist of similar types of products. For instance, if you manage an online store specializing in home decor items, you could establish a collection dedicated to wall art, another for furniture pieces, and so forth.
You can choose a manual or automation setup.
If you choose the ‘manual’ option, you will have the opportunity to search for products and add them to the collection, one product at a time.
If you choose the ‘automatic’ option, you will be asked to set up some simple rules for populating your collection.
Also, to make your product pages look better, remember to add a reviews section that will display other customer reviews. It will help attract more customers and build trust in your product.
5. Create Pages
Having your products in the Shopify store is great, but your store needs other pages to build visitors’ trust and present your store as a legitimate business.
Navigate to the Shopify admin → Online store → Pages → Select “Add page.” This will direct you to the page editor.
Here is a short list of pages that your store might need:
Homepage. Your homepage is essential because it’s the first thing people see and can make them decide to buy from you. To have a successful online store, ensure your homepage is designed well and encourages people to purchase.
About us. An About page gives you the chance to connect with customers on a personal level. You can share your business model, why you started your company, and anything else that helps customers understand who you are and what your store is about. Include contact information and share more details about your Shopify store.
FAQ. Provide the answers to the most frequently asked questions that your customers have.
Return and shipping policies. Clearly, stated return conditions, shipping fees, and delivery timeframes can prevent your customers and customer support from dealing with post-purchase misunderstandings and disputes.
Terms & Conditions. Being transparent is essential. Ensure that every shopper is aware of their responsibilities, rights, and how you handle their data.
Blog. Use the Shopify blog to offer valuable insights to your followers. It serves as a platform to share best practices, highlight products, announce updates, or narrate your company’s story or intriguing cases. Go to the Shopify admin → Online store → Blog posts → Create blog post.
6. Set Up Payment and Shipping
Setting up payment and shipping in your Shopify store is crucial for customer experience. In the “Settings” section, under “Payments,” you can choose your preferred payment methods.
In the “Shipping” section, define the regions you’ll ship to and set up shipping methods, including rates and delivery times. Specify rules for calculating shipping costs based on weight or size.
Regularly review and update these settings to align with your business needs. Creating transparent and efficient payment and shipping processes contributes to a positive customer experience, fostering trust and satisfaction.
7. Implement Marketing Strategies
Implementing effective marketing strategies on Shopify is essential for driving traffic and boosting sales. In your Shopify admin’s “Marketing” section, explore various tools and features to elevate your promotional efforts. Leverage social media channels by integrating them with your store, allowing for seamless sharing of products and updates. Additionally, utilize Shopify’s built-in email marketing tools to create targeted campaigns, reaching your audience with personalized content and promotions.
Consider running special offers, discounts, or collaborations to generate excitement around your brand. Take advantage of Shopify’s analytics tools to monitor the performance of your marketing initiatives, gaining insights into customer behavior and the effectiveness of your strategies. Regularly adapt and optimize your marketing approach based on these insights, ensuring your Shopify store remains competitive and engaging in the dynamic online marketplace.
8. Launch Your Store
After meticulous preparation, it’s time to unveil your Shopify store. Monitor customer feedback and be prepared to make adjustments based on early responses. A successful launch is not just about making your store live; it’s about creating an event that positions your brand in the hearts and minds of your target audience. Consider special promotions, limited-time offers, or exclusive deals to incentivize early purchases and encourage customer engagement.
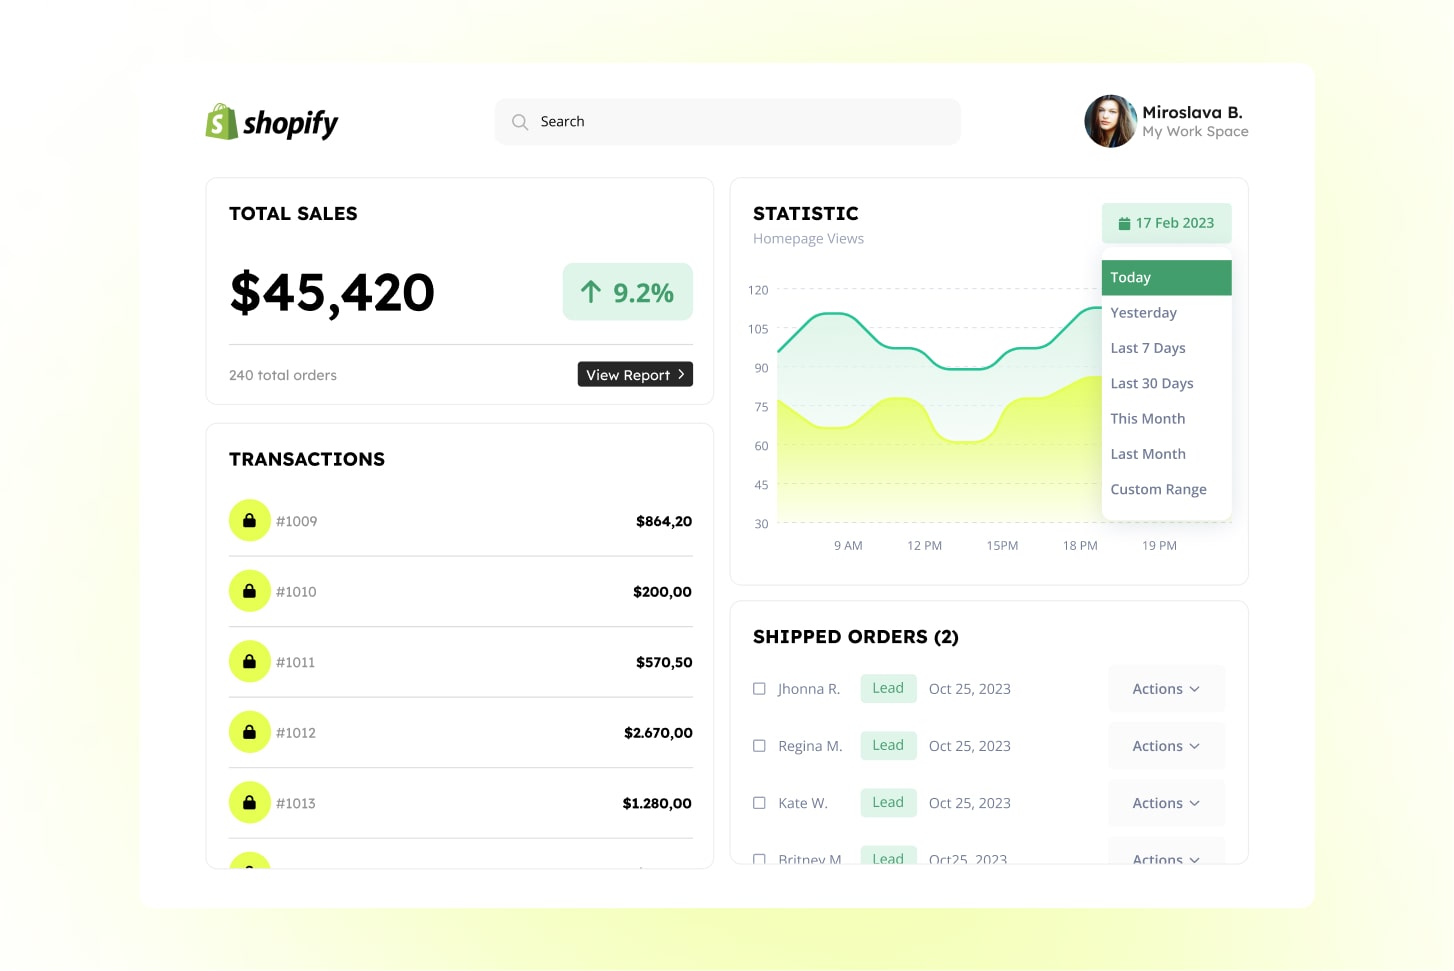
9. Monitor and Adapt
The journey doesn’t end with the launch; it evolves. Regularly monitor your store’s performance using Shopify’s analytics tools. Dive deep into customer behavior, track sales metrics, and gather insights to adapt and optimize your strategy continuously. The E-commerce landscape is dynamic, and staying agile is a key to sustained success.
-
Summary
Embarking on the journey to launch a Shopify store in 2024 presents an exciting opportunity for entrepreneurs seeking success in the ever-evolving world of online retail. Shopify’s user-friendly interface, security features, and extensive customization options make it an ideal platform for success.
As the E-commerce landscape evolves, staying informed about industry trends and leveraging Shopify’s innovative features will position your store for sustained growth and success. Embrace the opportunities that 2024 presents for E-commerce entrepreneurs, and embark on your journey to create a flourishing Shopify store that captivates customers, drives business success, and shapes the future of online commerce.

Related Posts


